We suggest you follow along with the instructions below as you set up your first Progress Pod Membership.
There are only two fields that are required to set up your ProgressPod Membership. These are:
- The Membership Name, and the
- Membership support email.
The all the other fields on the following screens can either be left blank or contain default settings. You can easily add/change/edit them at a later date.
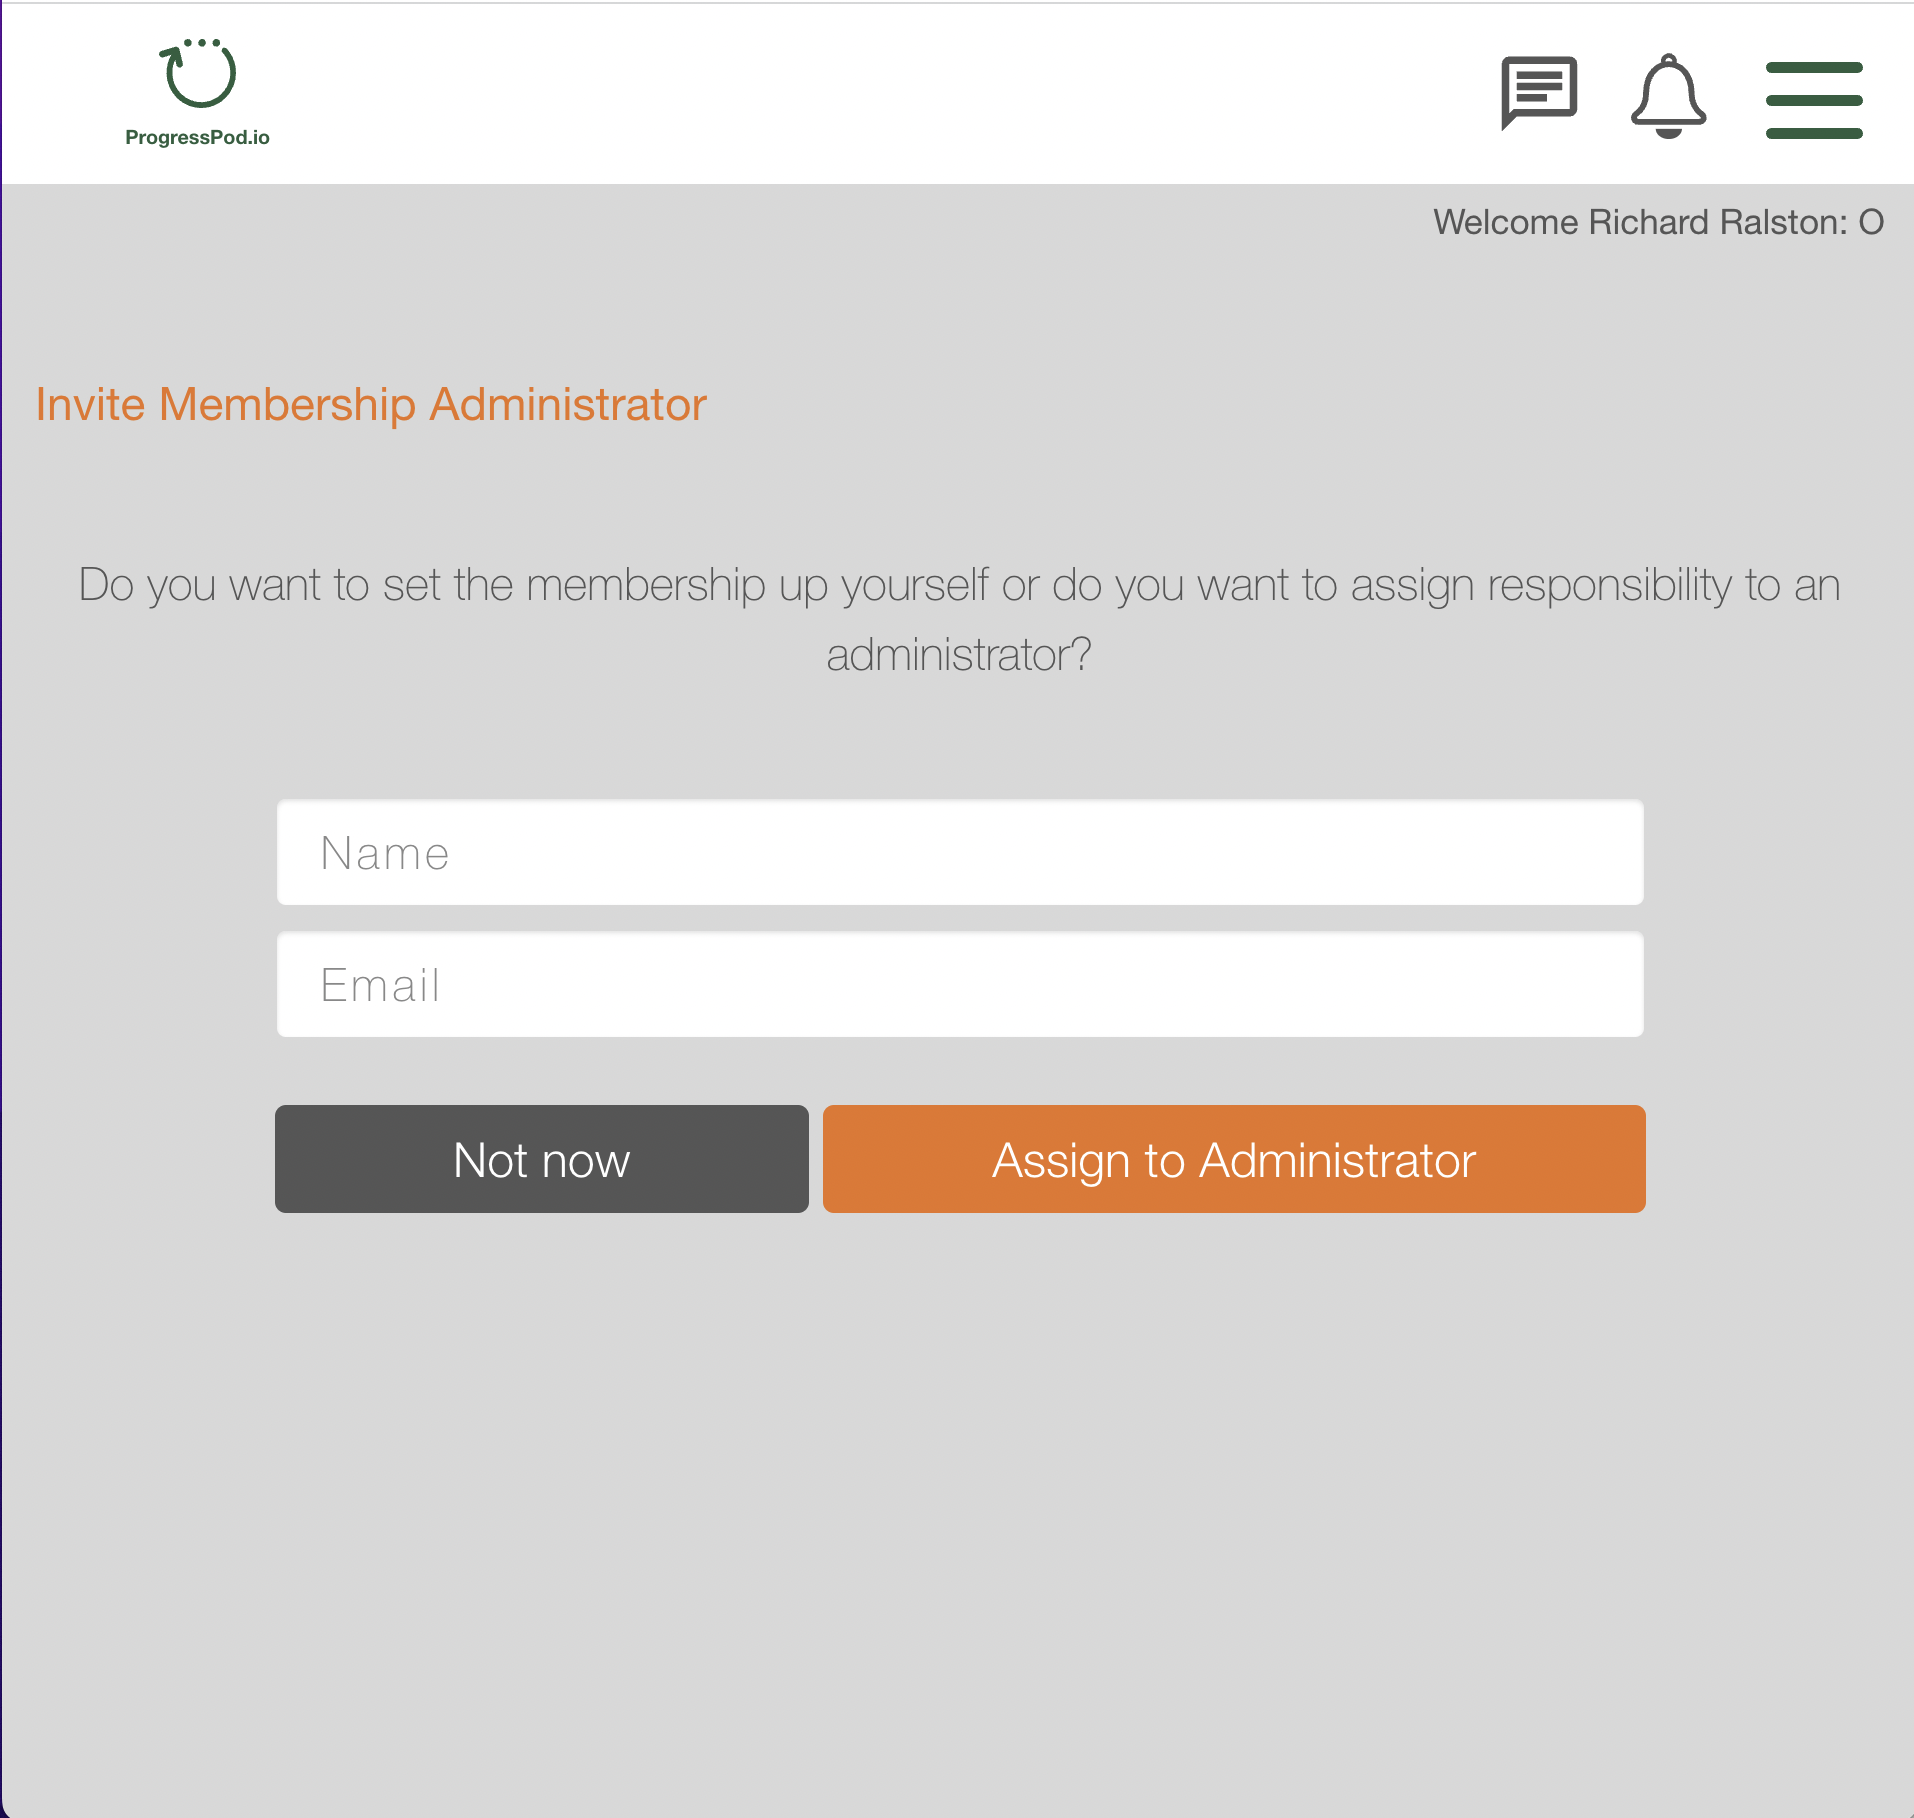
1. When you first log in you will be asked whether you want to assign an Administrator to manage your Progress Pods for you.
This is optional. You can choose to set your Progress Pod membership up your self and then assign an Administrator later if you'd like to.
If you want to assign an administrator, click the Assign to Administrator. The person you assign will be sent an email with instructions on how to complete the set up of your Progress Pod Membership.
When you assign an administrator you will no longer receive any transactional emails from the ProgressPod.io platform. These will all be sent to your Administrator.
Note that you will still be able to log in view all your Pods and complete any management tasks if you need to. You can also edit any of the fields in your Progress Pod Membership.
If you choose not to assign an administrator at this stage click the 'Not Now' button you will proceed to the next screen as shown below.
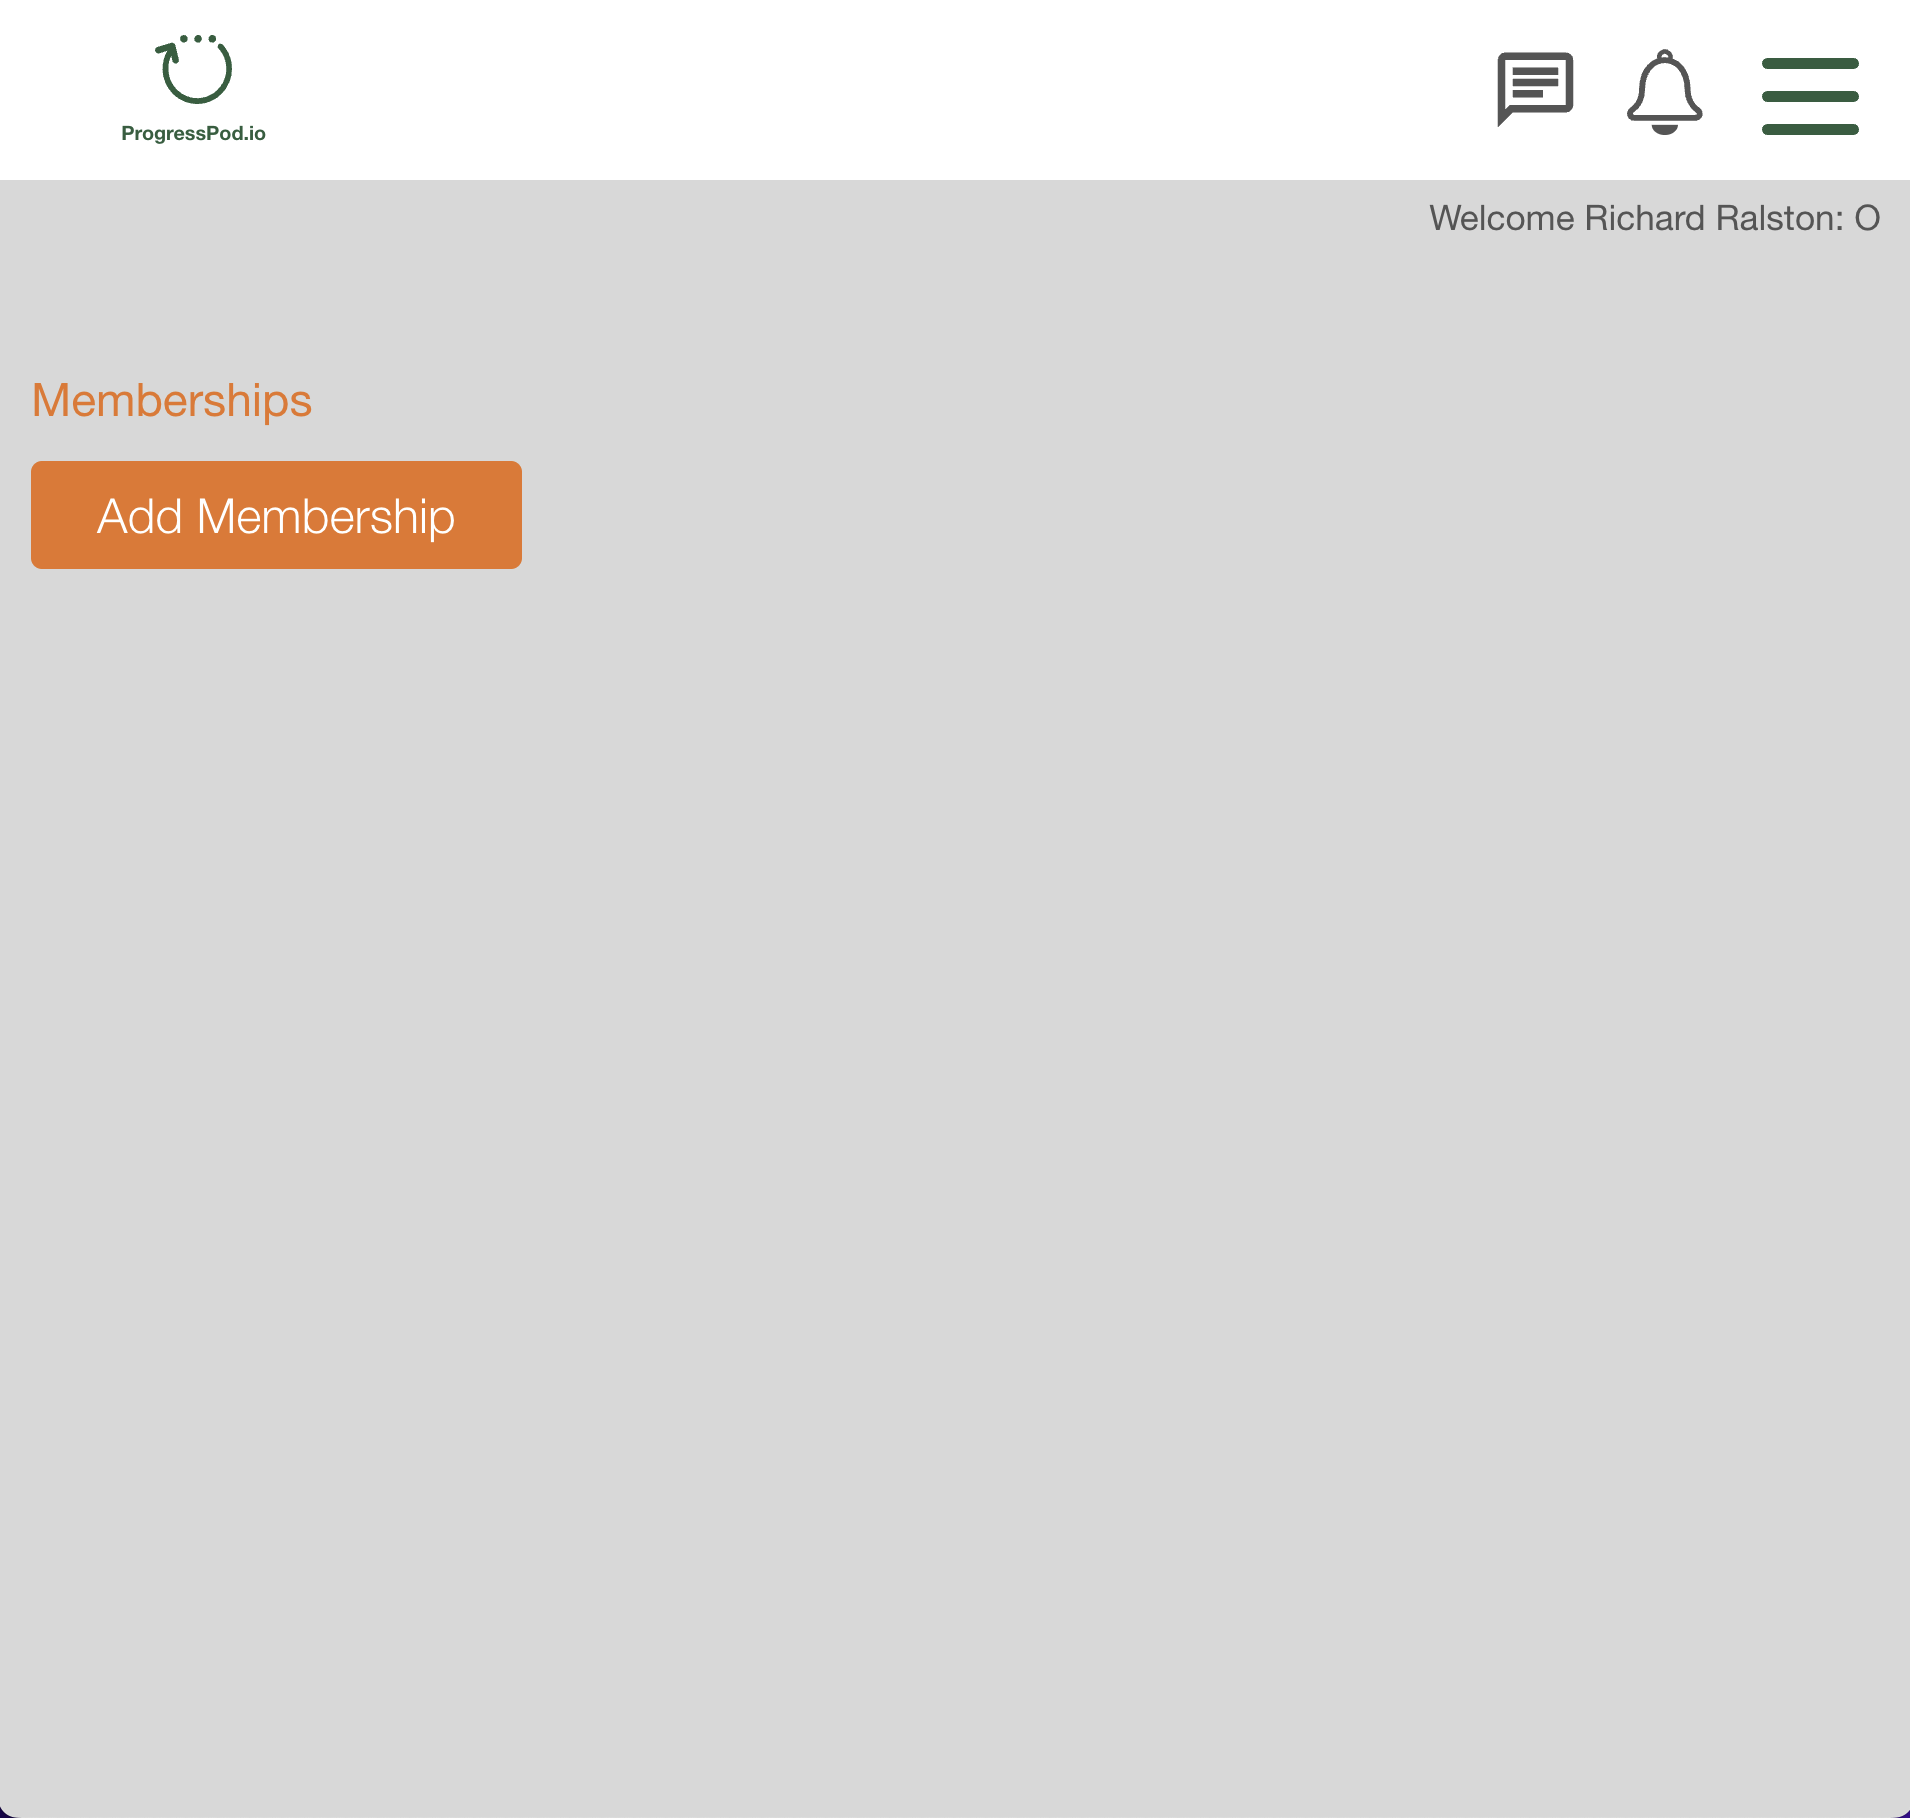
2. Click the orange Add Membership button.
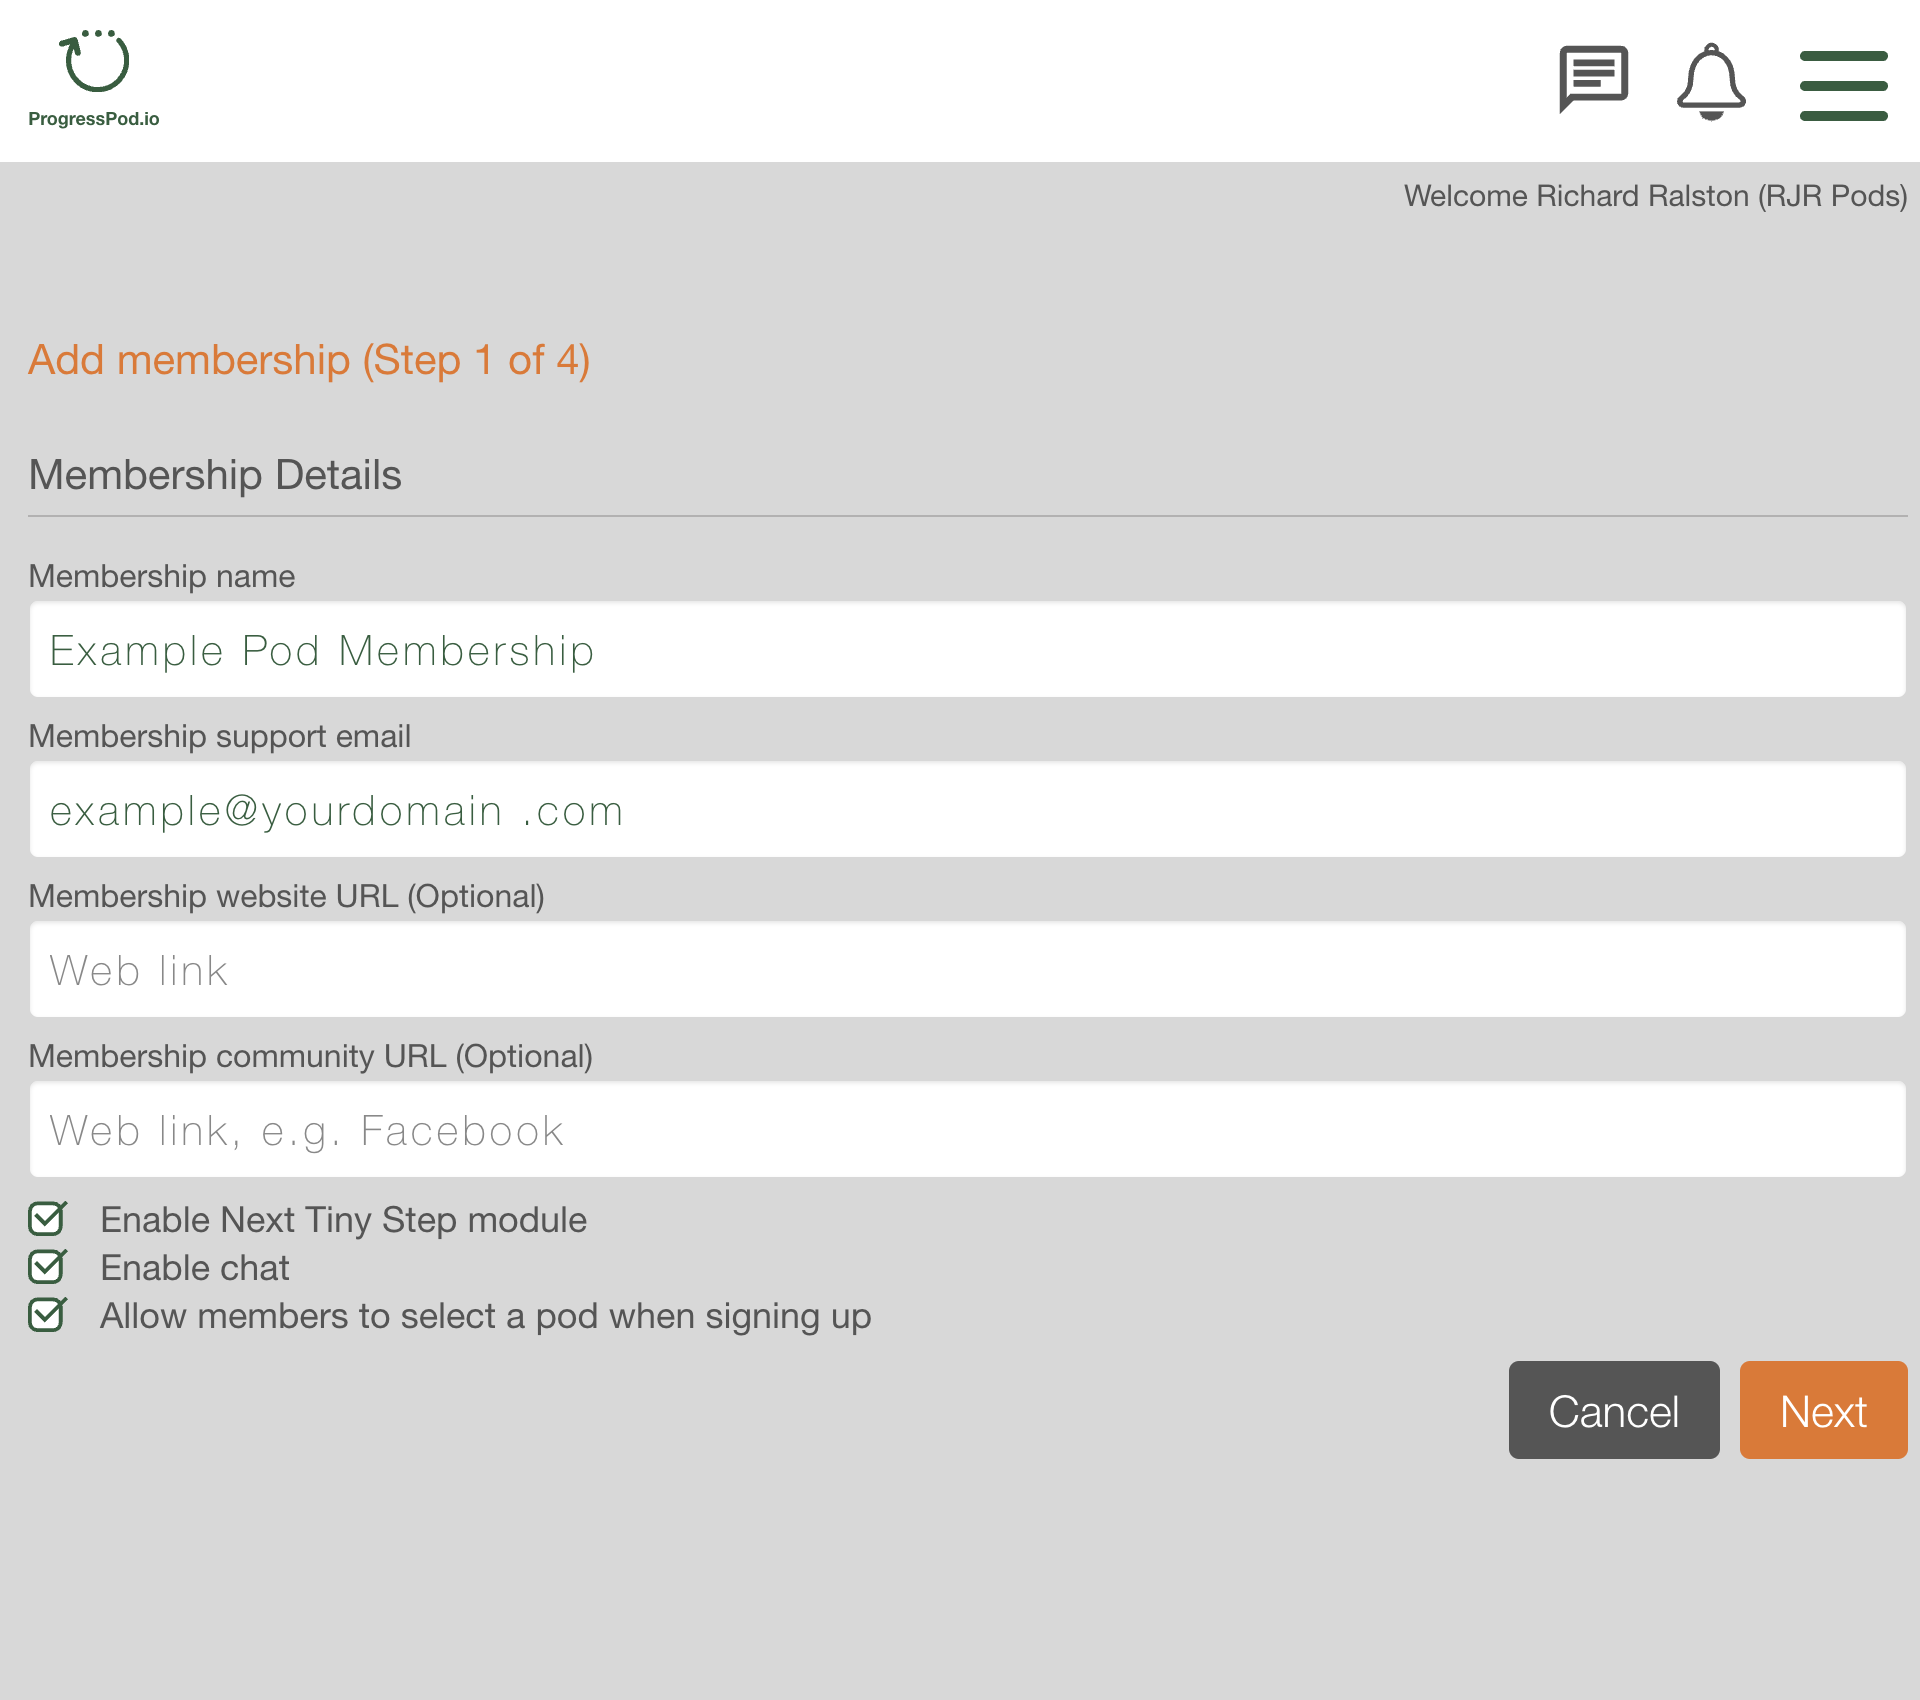
3. Fill in the fields on Screen (Step 1).
The Membership Name and the Membership support email address are the only fields that required. The all the other fields on the following screens contain default settings and are optional. You can easily add/change/edit them at a later date.
Make sure that the three check boxes at the bottom of the screen are ticked. Unchecking them will hide the three features. Please contact us if you think you have a special use case where you would not want to use these features.
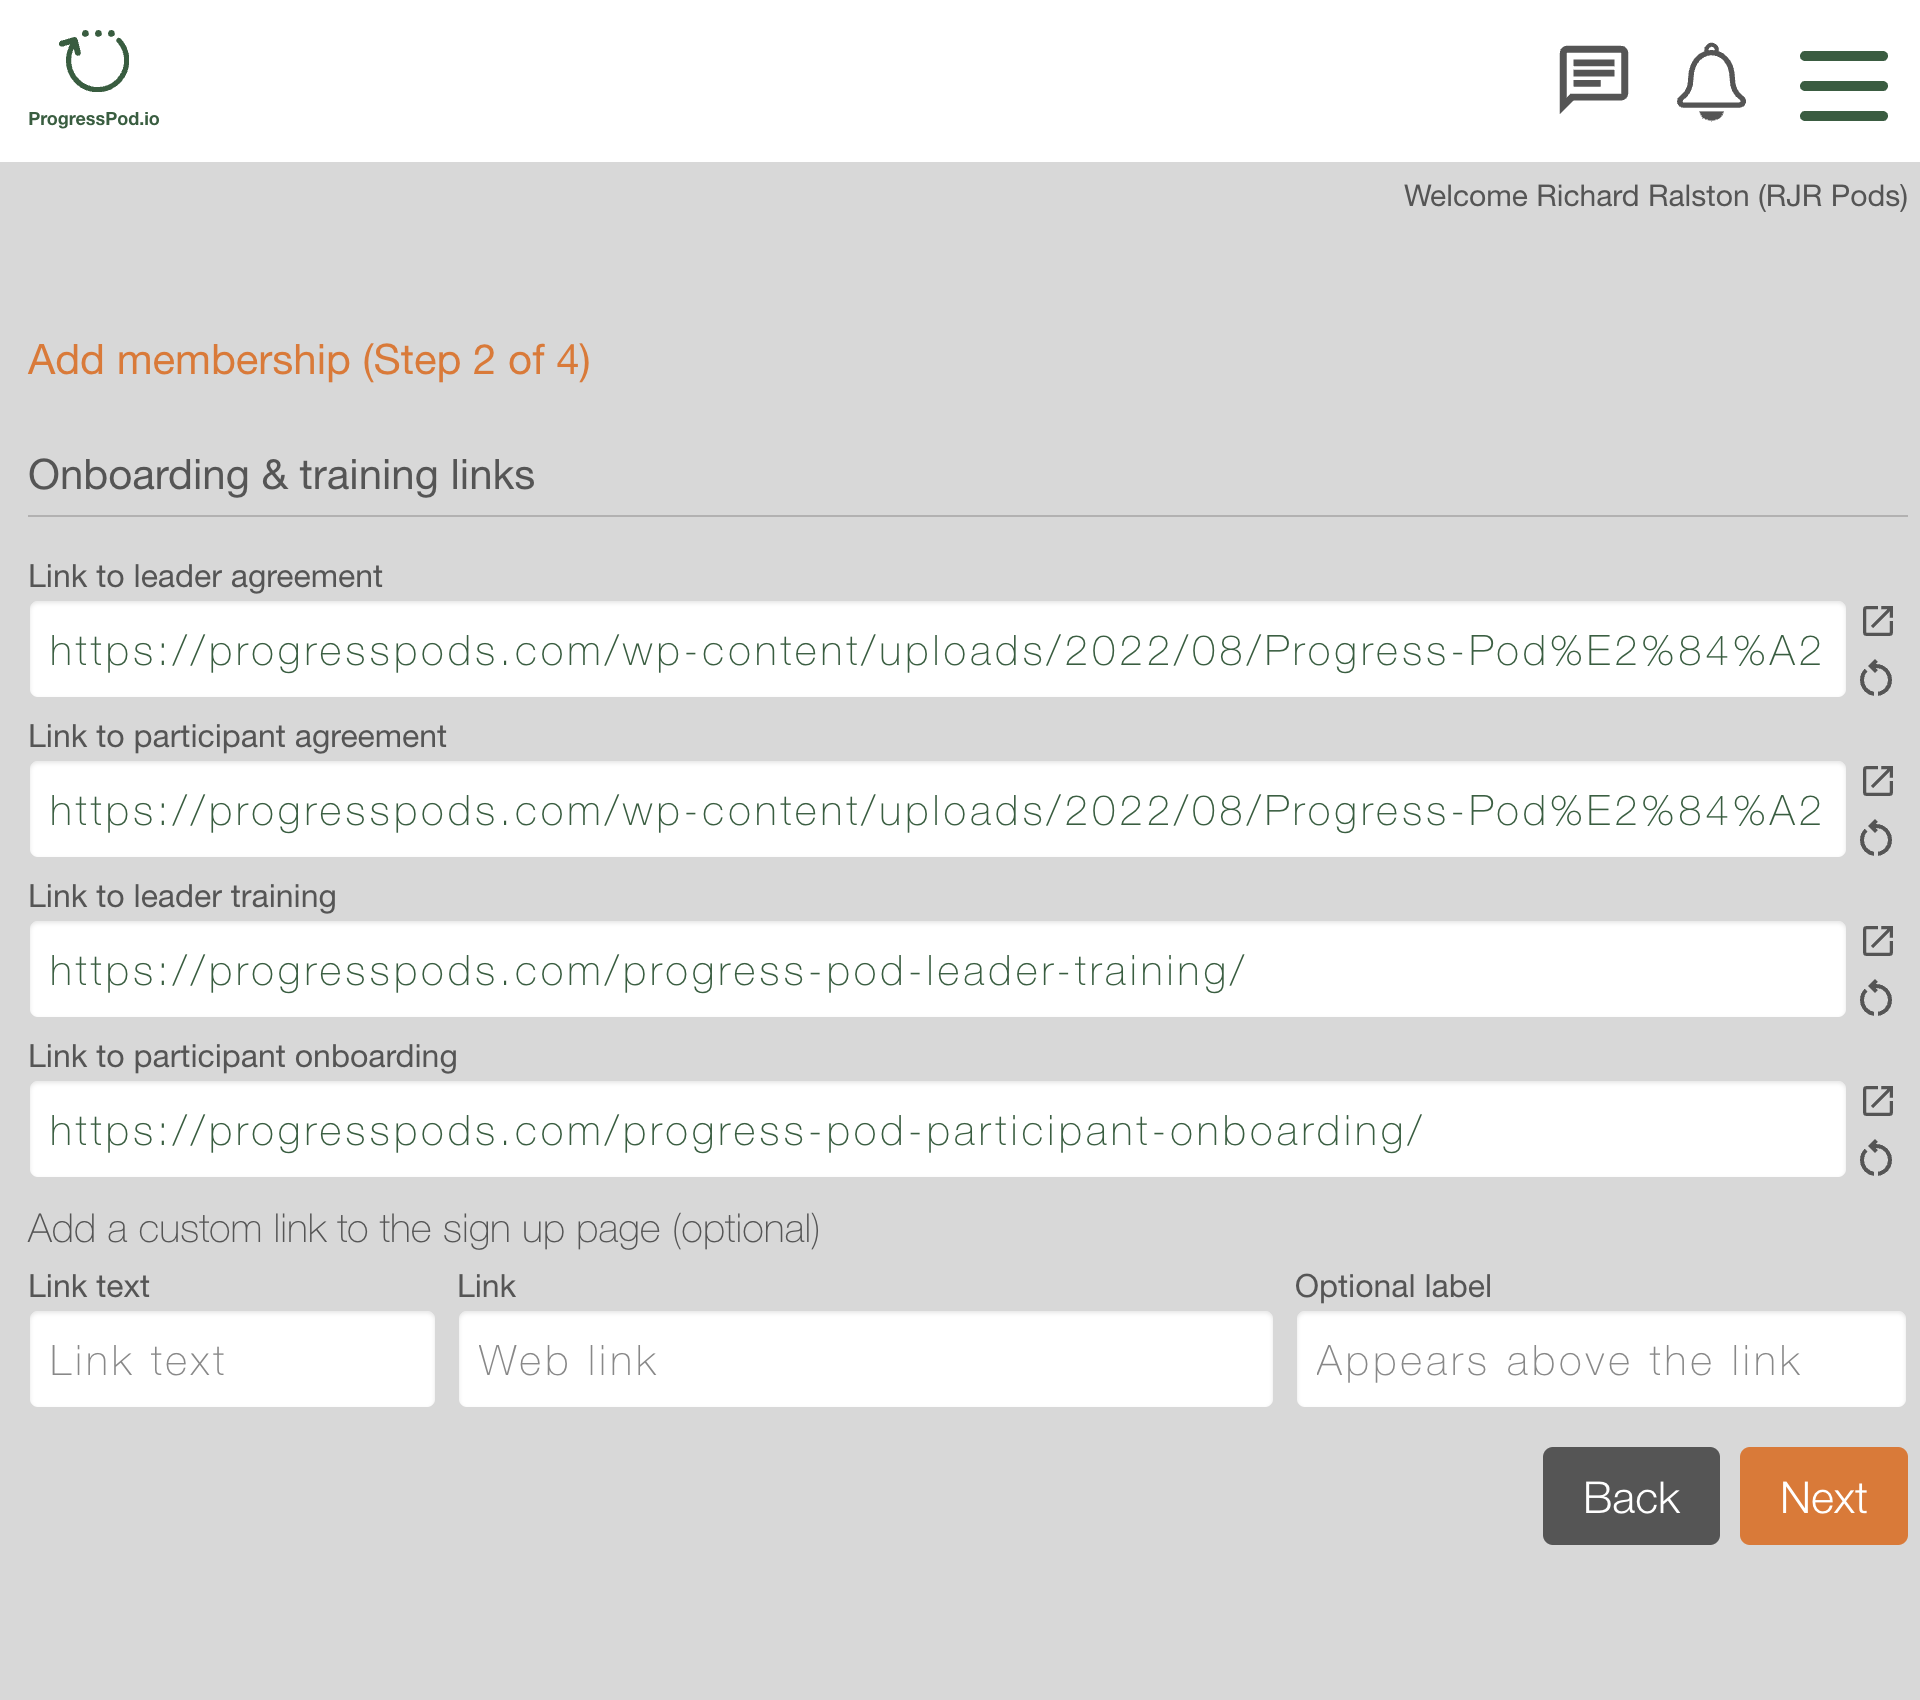
4. Fill in the fields on Screen (Step 2).
You can view the URL's that these default setting go to by clicking the small square icon at the end of the URL field.
You can add your own URL's to these fields.
If you change a field and want to reset it back to the default URL, click the circle icon at the end to the URL Field.
You can add a custom link to the Participant Signup page by filling out the fields at the bottom of the screen. These fields are optional and will only appear on the Signup page if they are filled out.
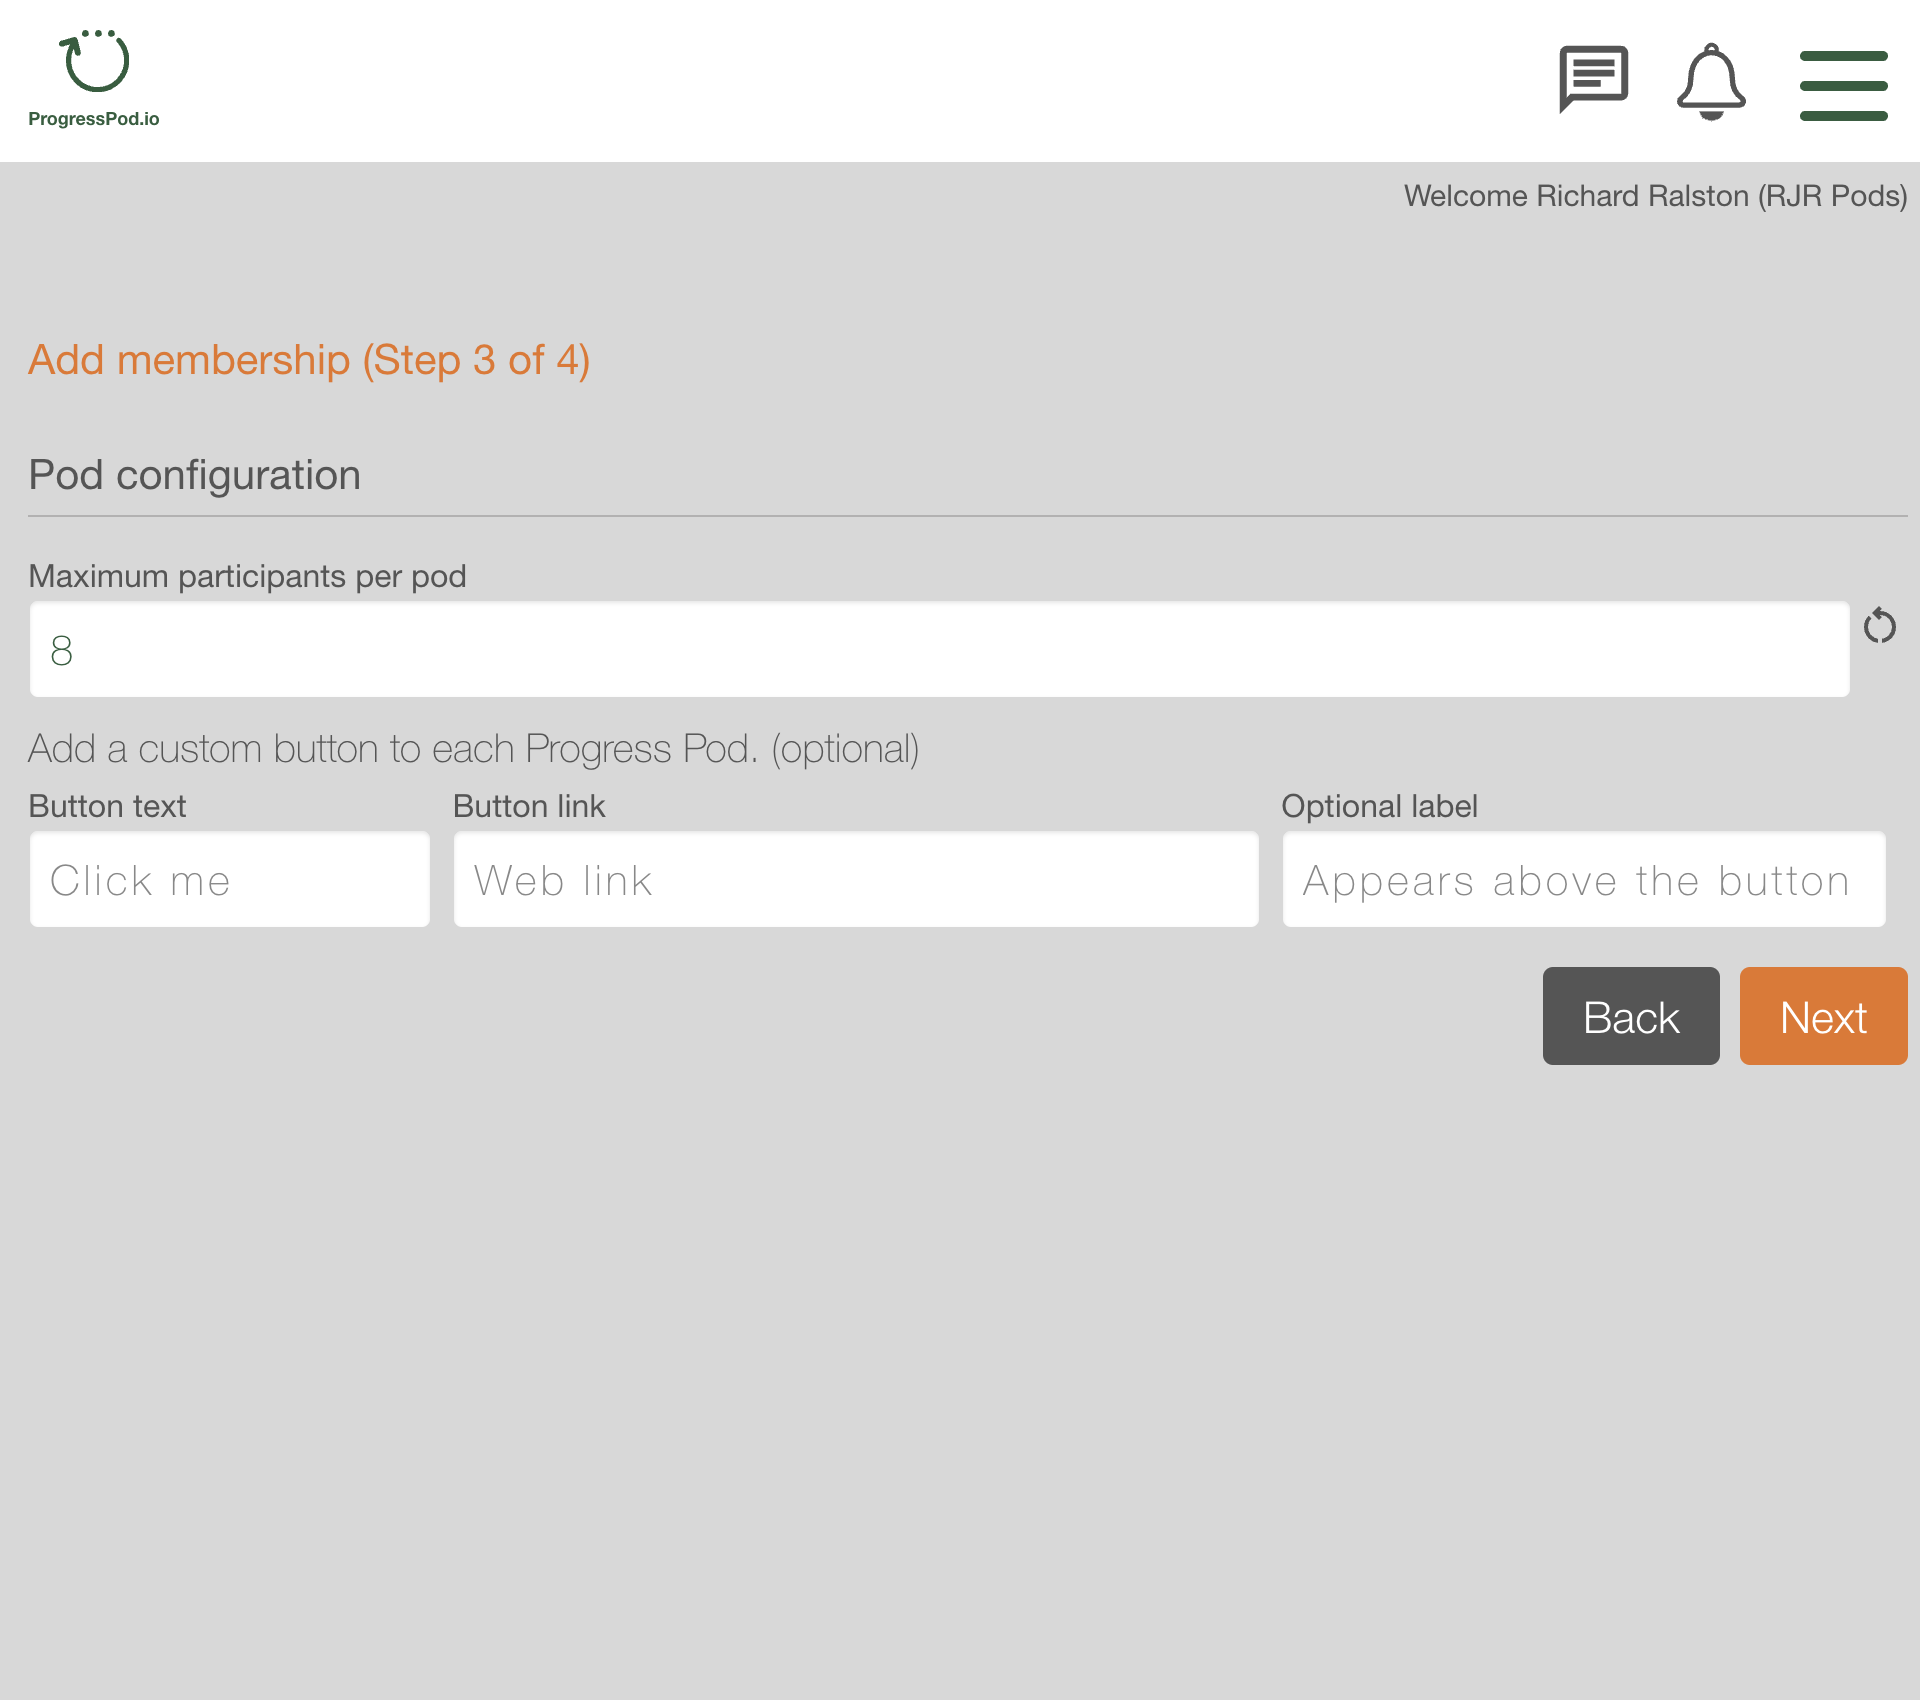
5. Fill in the fields on Screen (Step 3).
We suggest that you set the maximum size of your Pods between 6 at 8 Participants. This number does not include the leader. When the number of Participants in a Pod drops below this number, the first person on the waitlist (assuming the Pod has a wait list) will automatically be added to the Pod .
You can add a custom button inside the Progress Pod Dashboard. One of the uses of this button is to send the Participants to a specific piece of content, or a questionnaire etc.
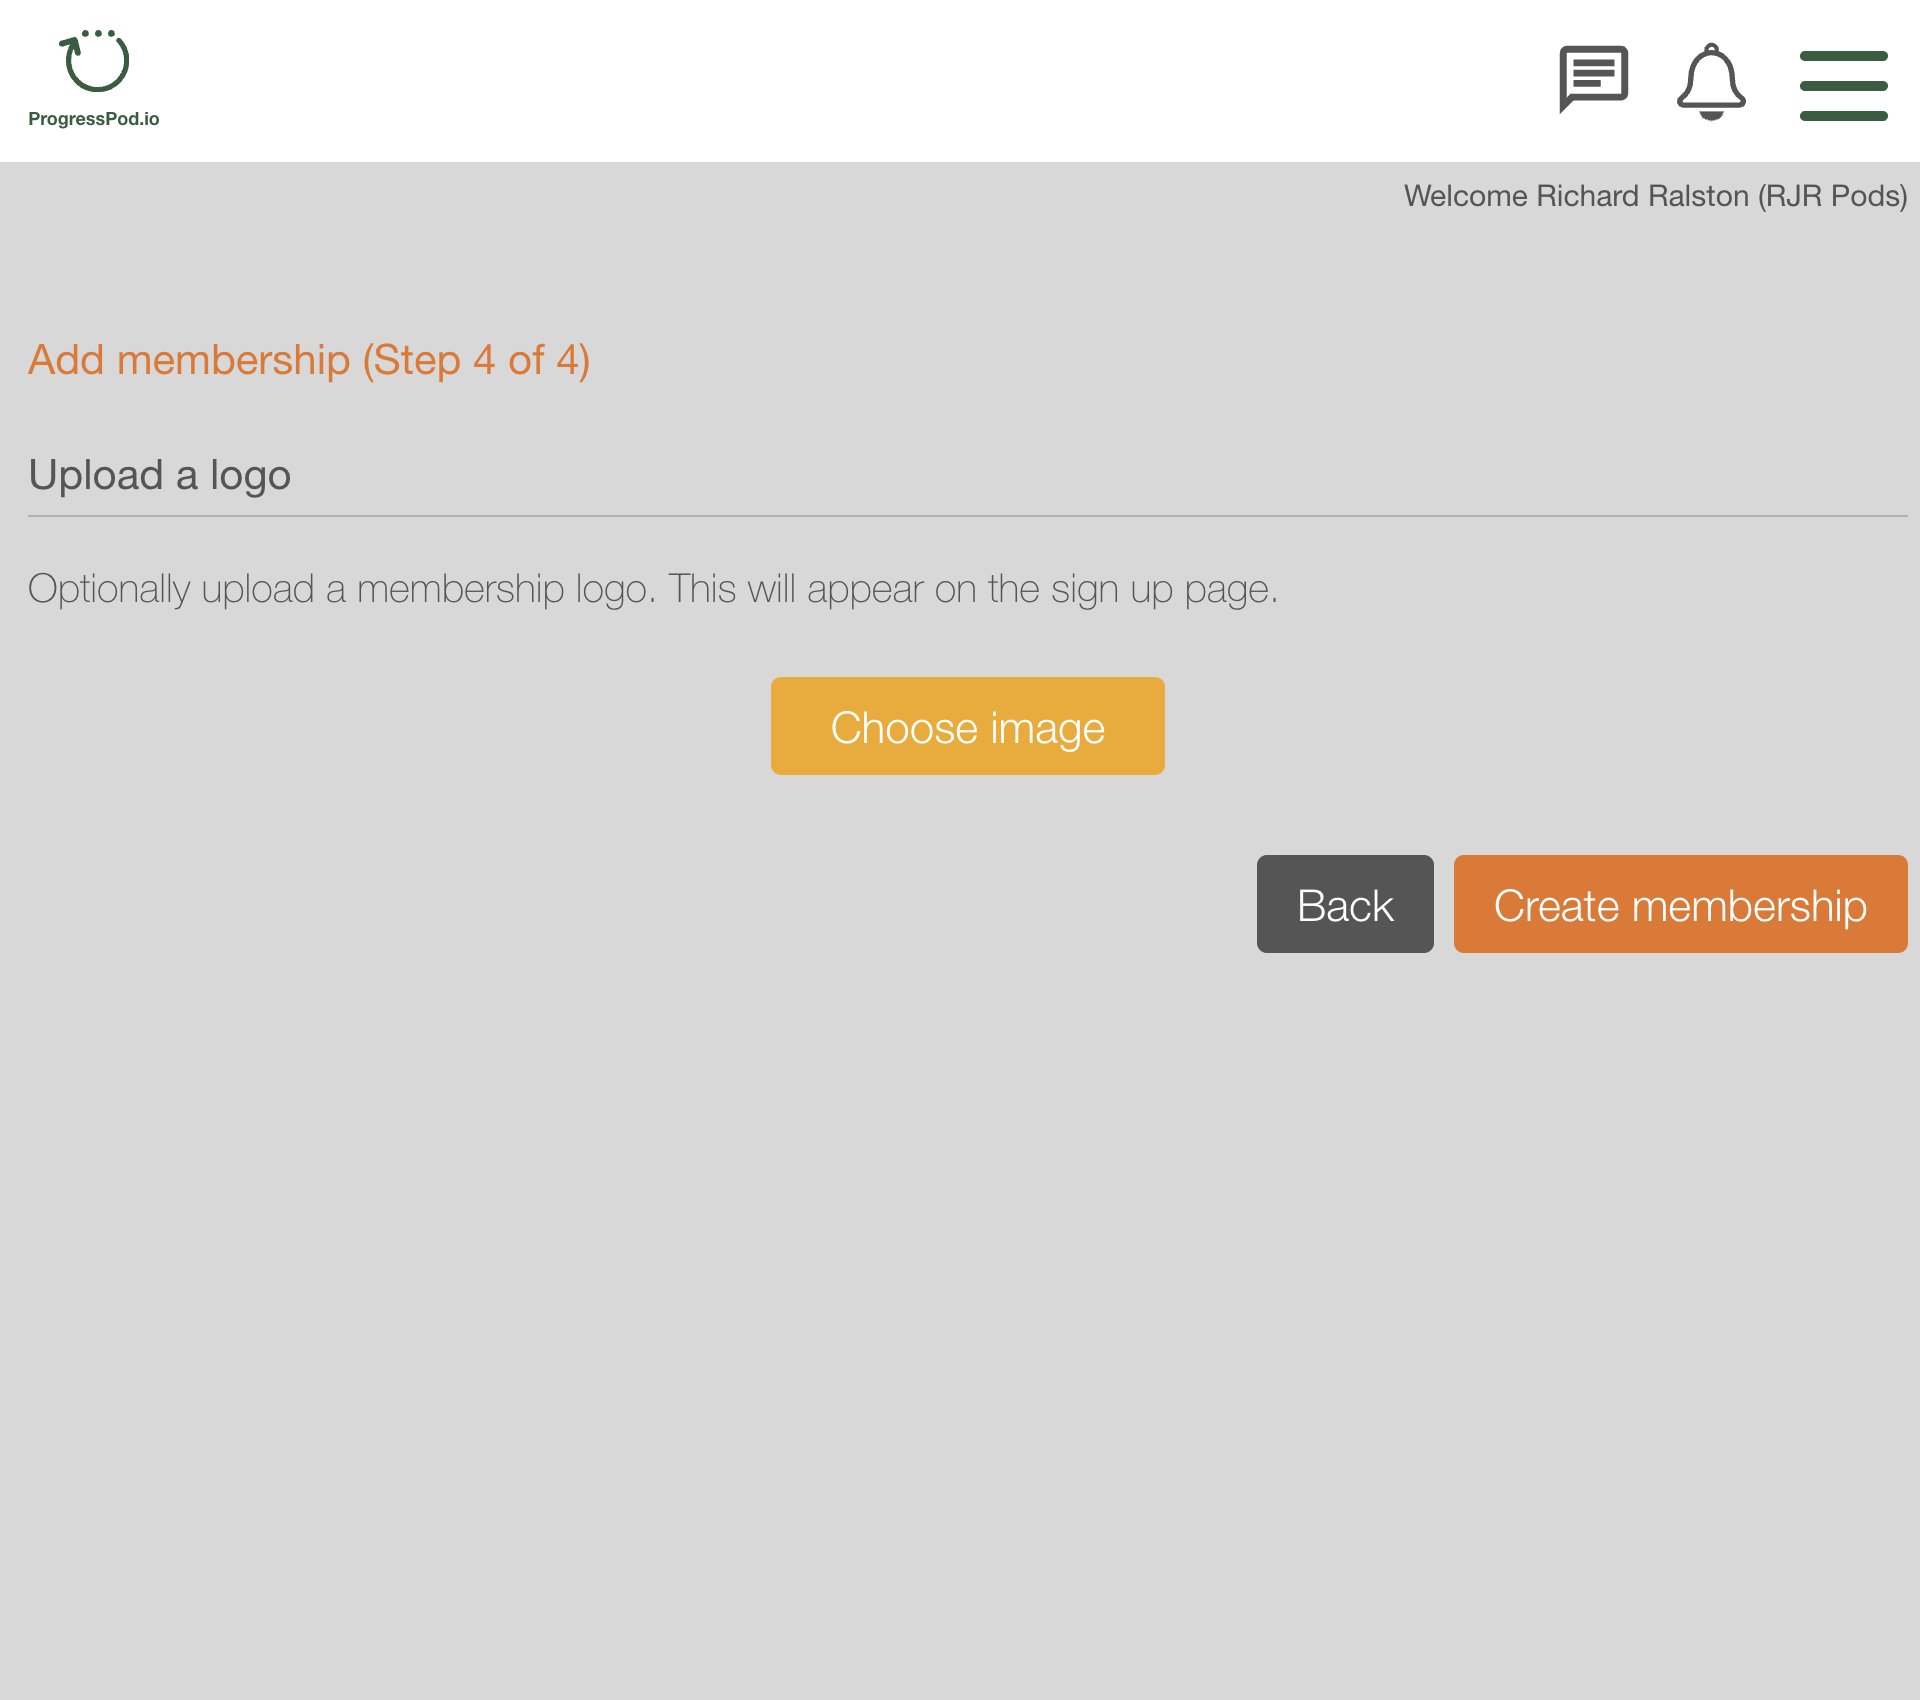
6. On this screen you can add a logo. It will appear on the Signup screens and on the Pod Dashboard.
The ideal size of the logo is 200px x 200px.
When you have completed this screen click the orange "Create membership" button.
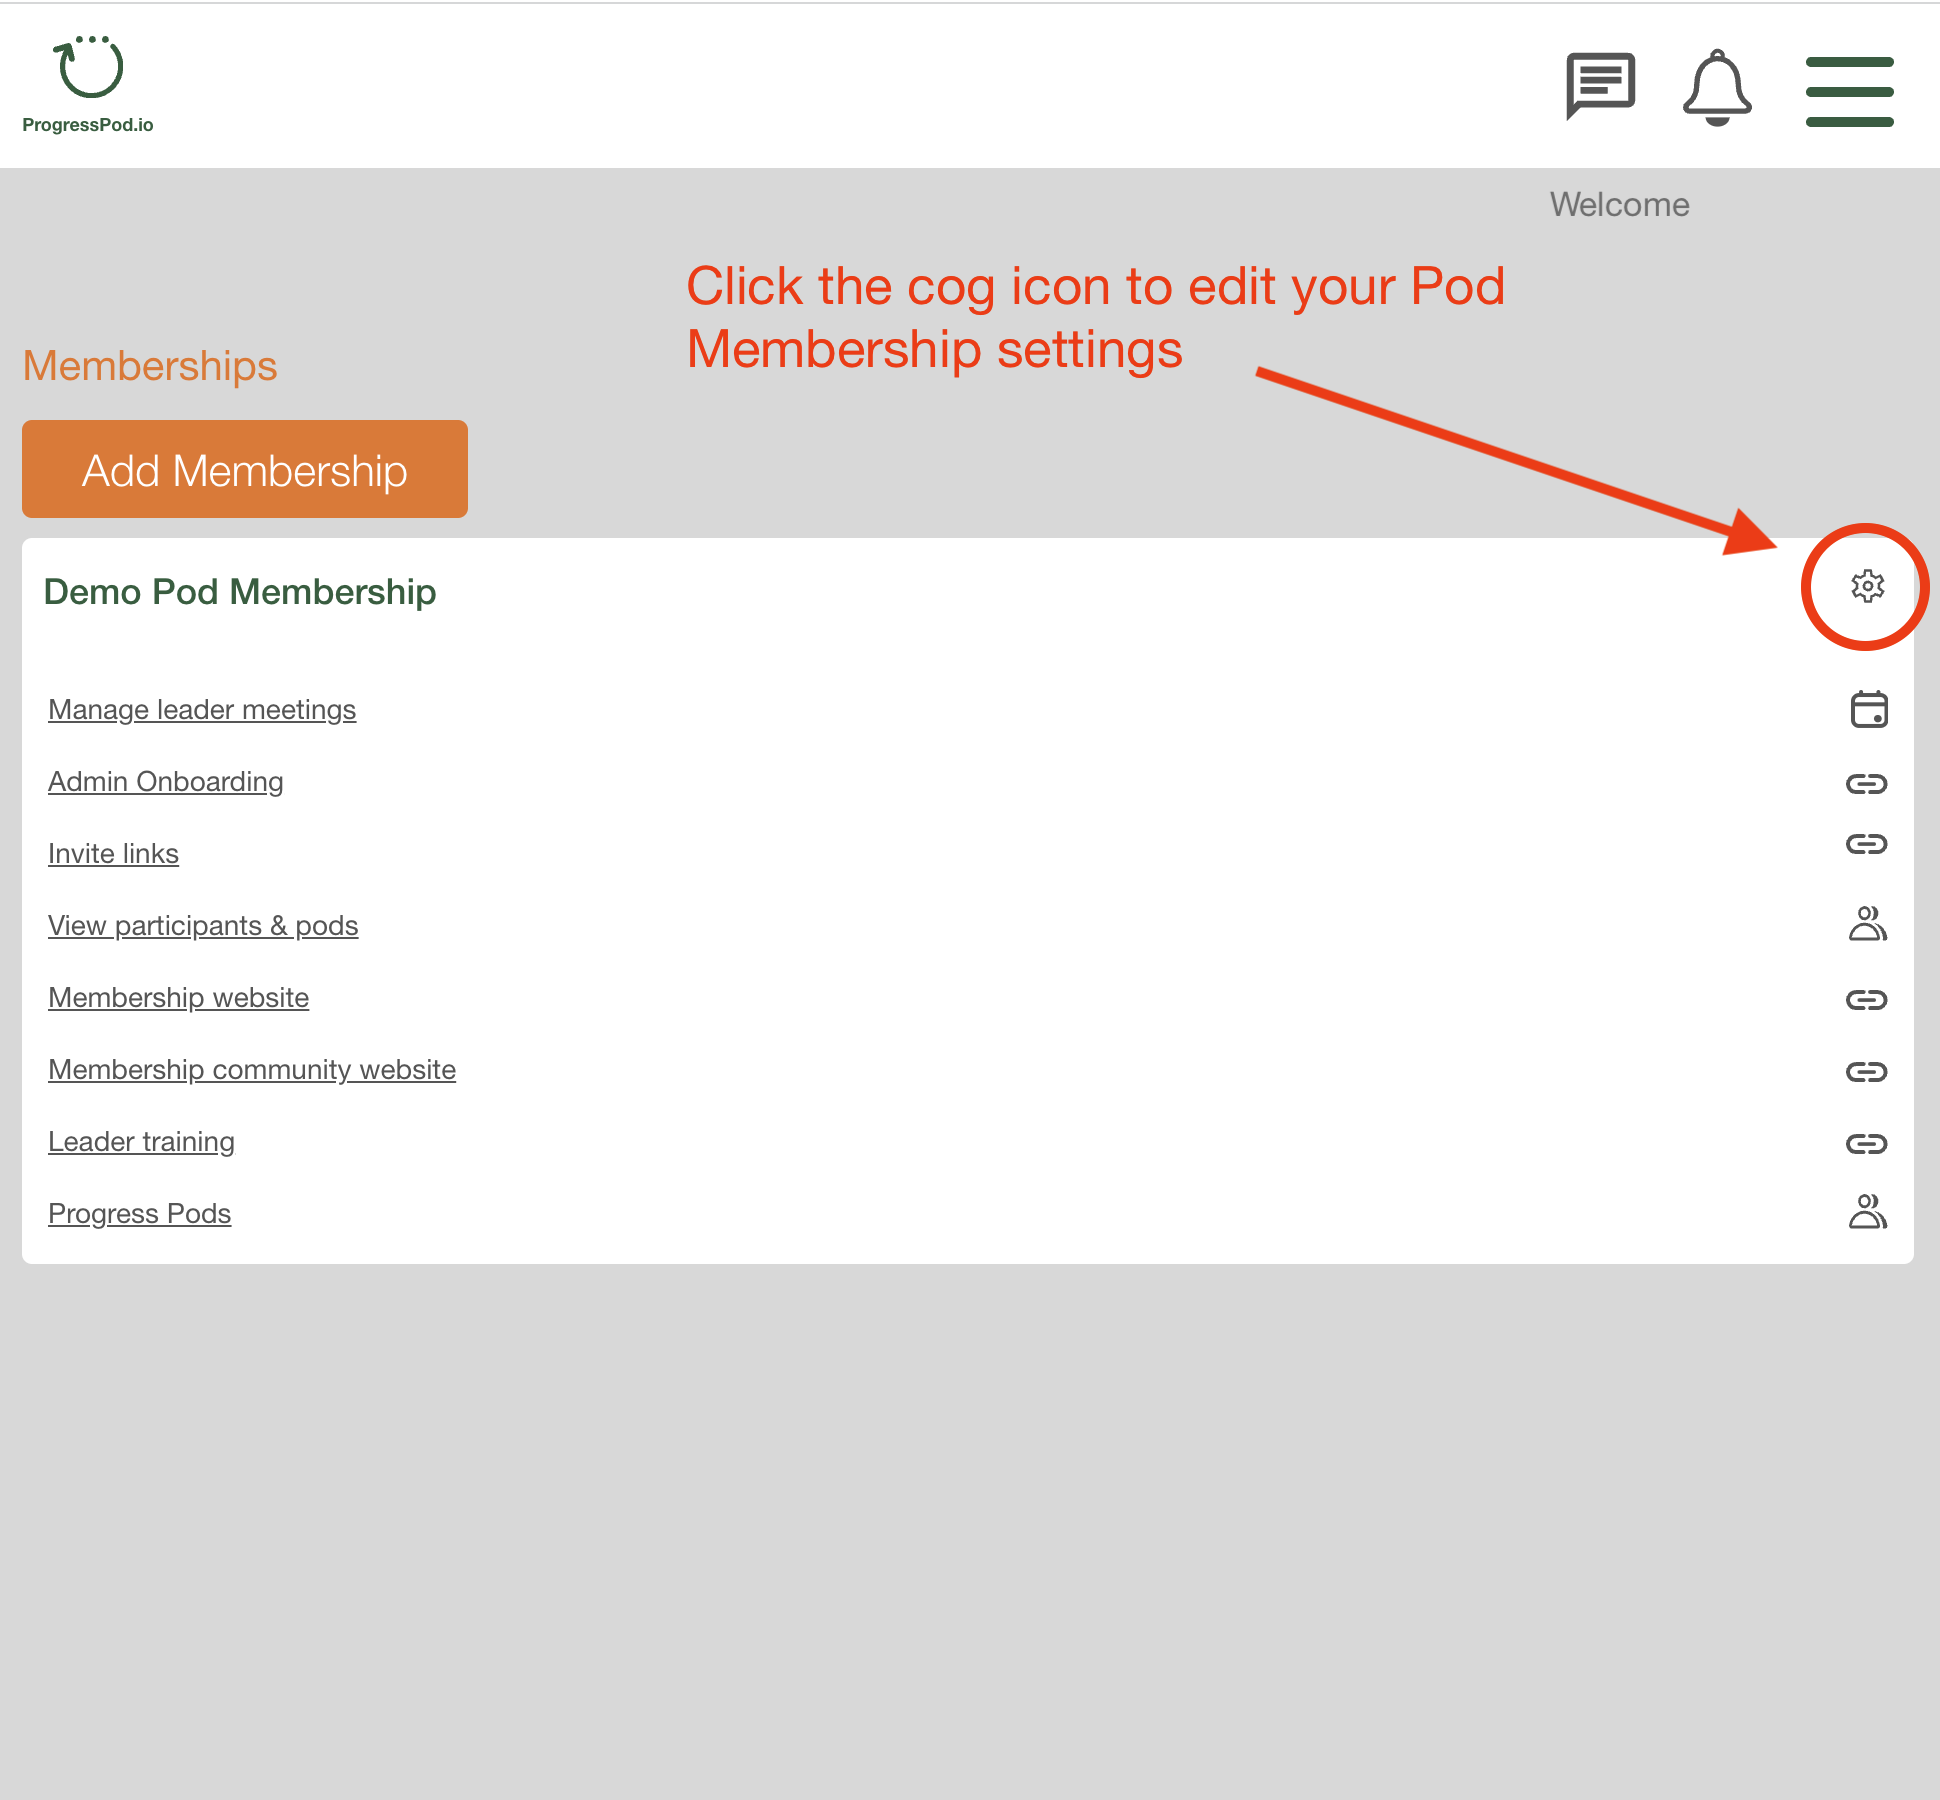
7. Congratulations you have just set up your first Progress Pod Membership. It will look similar to the screen shot below depending on the fields you filled out.
Feel free to click each of the links and familiarise yourself with the content.
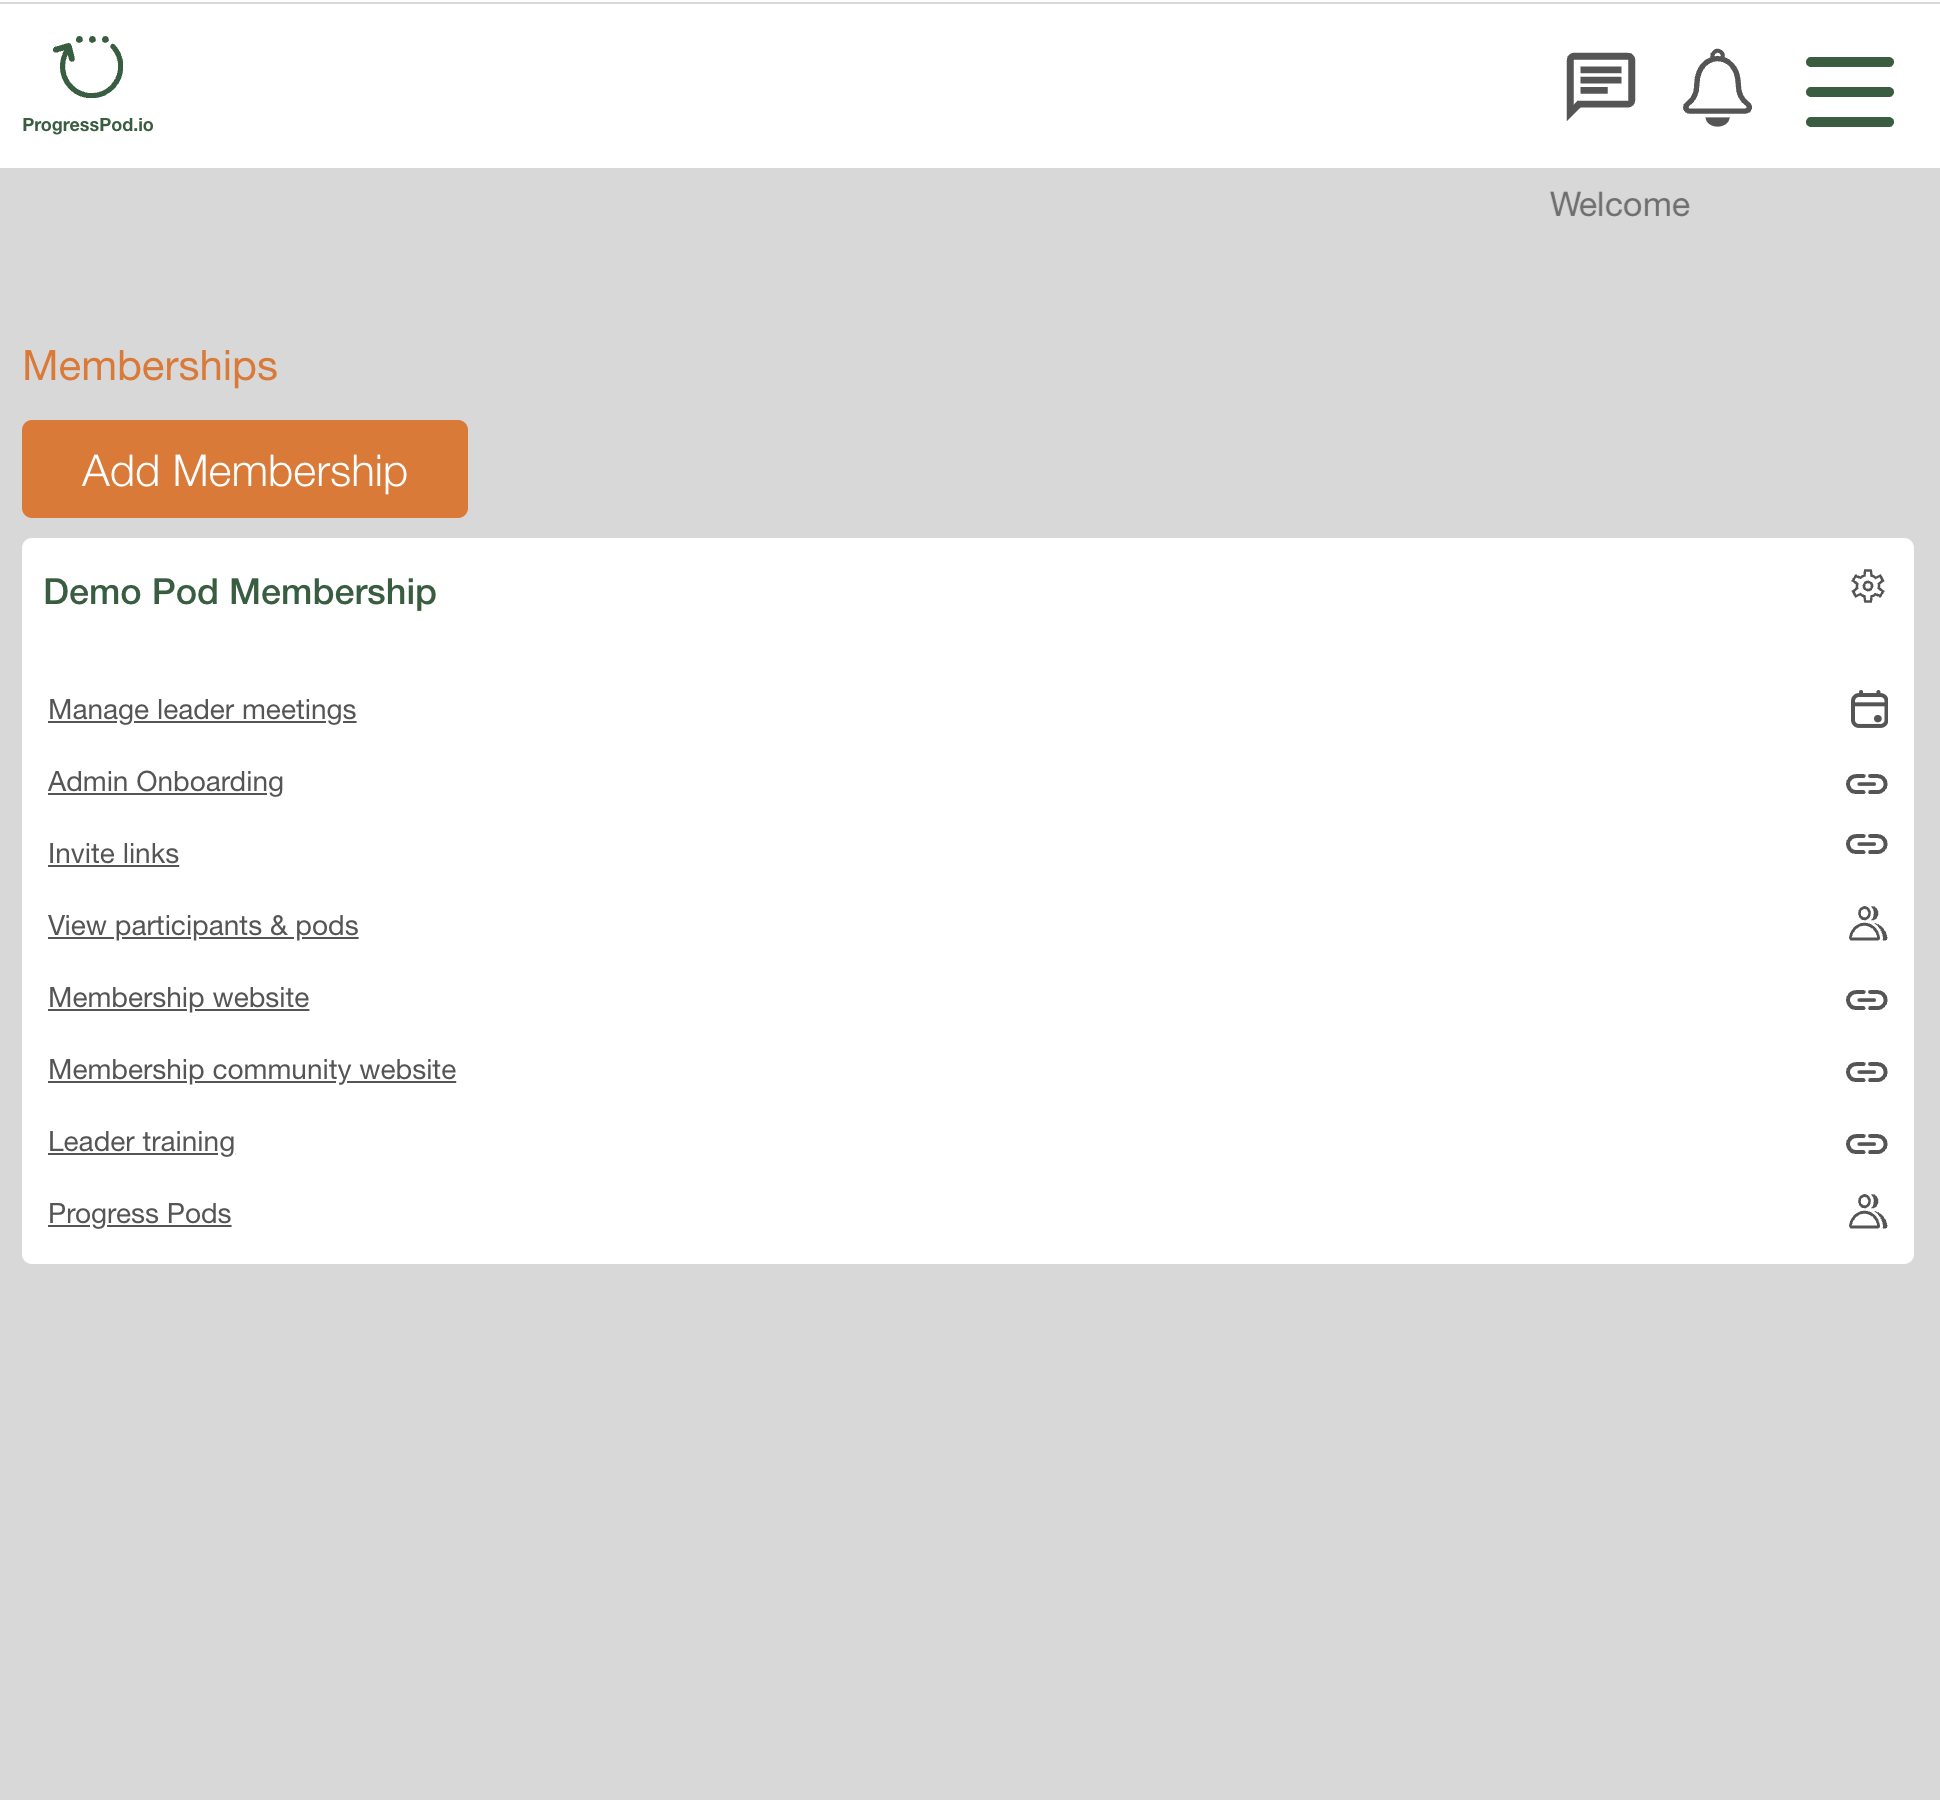
- The "Manage leader meetings" link takes you to a series of screens that enable you to set up Training and Support Meetings for your leaders. Note: Only Owners and Admins see this link.
- The "Admin Onboarding" link takes you back to the Owner and Admin Set up page. Note: Only Owners and Admins see this link.
- The "Invite links" link takes you to a screen where you can copy the links to post to your Leader and Participants so that they can log in to your ProgressPod.io account and access your Progress Pods. Note: Only Owners and Admins see this link.
- The "View participants" and pods link takes you to a screen where you can see all the Leaders, their Pods and the participants in their Pods. You can also manage your Participants and Pods from this screen (make a participant a leader, remove a person from a Pod and/or your Pod Membership). Note: Only Owners and Admins see this link.
- The "Membership website" link takes you to the website your specified.
- The "Membership community" website link takes you to the website you specified.
- The "Leadership training" link takes you to the Leader training page.
- The "Progress Pods" link takes you to the screen that shows all the Progress Pods you (or a Leader or Participant) have joined.
8. You can edit any of the settings in your ProgressPod Membership click the gear icon.
